Do you know how to add font to Photoshop easily? No worries lets start! Adobe Photoshop is among the most popular image editing software tools in the world, with professionals and amateurs alike using it.
A popular feature of the software is the ability to add content or text to images and photos, and it supports a wide range of font types as well as accessing the “Fonts” file on your Windows or Mac computer.
So, how do you add font to Photoshop? This has been a common problem among users, and we’re here to help you with it. If you want to learn how to add font to Photoshop, you can do so using one of two approaches. The option you select is determined by the purpose of the font.
You can use Adobe Creative Cloud, for example, if you want your typefaces to appear in all Adobe apps. Otherwise, you can download fonts to your computer and use them in all of your apps. We’ll go over both approaches to add font to Photoshop in detail below, as well as some pointers on where to get alternative fonts online.
How Do You Add Font to Photoshop CS5?
If you come across a wonderful font on a website like Google Fonts, you might want to use it in an image you’re editing on your computer. However, many image editing applications don’t make it easy to use new fonts, so you might be asking how to add font to Photoshop.
By default, Windows 7 machines provide a large number of high-quality typefaces. These fonts have a wide range of styles, so you’ll be able to find something that suits your needs, whether you’re looking for a serious font, a humorous font, a script font, or something else. On the other hand, Photoshop CS5 users frequently need to add something to their creations to make them truly stand out in a crowd, which may not be doable with only your Windows 7 system fonts.
Using Adobe Creative Cloud, you can add font to Photoshop
The Adobe Creative Cloud is a function that allows you to download and add font to Photoshop directly into Photoshop using your Adobe account. You’ll be able to use your new typefaces across all Adobe apps and devices as a result of this.
- To begin, go to Adobe Creative Cloud and sign in.
- You’ll also need a current Adobe app subscription, such as Photoshop.
Skip to the next section if you don’t have Adobe Creative Cloud or are using an older version of Photoshop. If you have an Adobe Creative Cloud subscription, you can get free fonts for both business and personal usage.
- Once you’re within the Adobe Creative Cloud, click the Italic F logo in the top right corner of the UI. After the page has loaded, click Adobe Fonts, then Browse All Fonts.
- Your browser will open to a page where you can search for fonts and font families. Click View Family if you like a font.
- You’ll see the option to “Activate Fonts” on the next page, which will activate all fonts in that family. You can also manually add font to Photoshop by scrolling down and clicking on the slider for each font in that family.
You’ll notice the message “Font Activation Successful” once you’ve activated a font. Simply launch Photoshop and search for your new fonts in the font list while using the text tool.
Without the Adobe Creative Cloud, you can add font to Photoshop
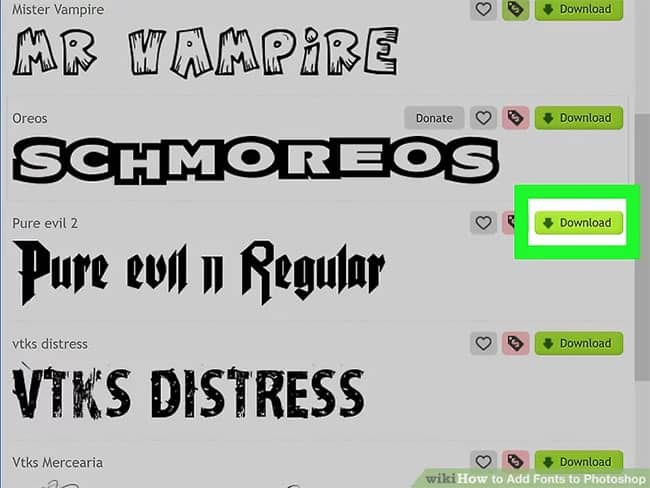
If you don’t have Adobe Creative Cloud, you’ll have to go online and add the typefaces you wish to use in Photoshop. Following the methods below, you can quickly download and install them.
First, make sure you read the licences for any typefaces you obtain from the internet carefully. While certain fonts are available for download for free, you may only be permitted to use them for personal use.
For business use, font makers frequently have a paid licence. Google Fonts is a good place to look for free fonts for business use. All of the Google typefaces on this page are free and open source.
DaFont, on the other hand, is a terrific source to find a greater range of fonts for personal use for free. We also have a wonderful article on where to discover more fonts on 8 safe websites.
In most circumstances, when you download a font, you’ll get a.zip file. After you’ve extracted your font to a new folder, select all of the font types you want to install. After that, right-click and choose Install. Note that the procedure is comparable on a Mac.
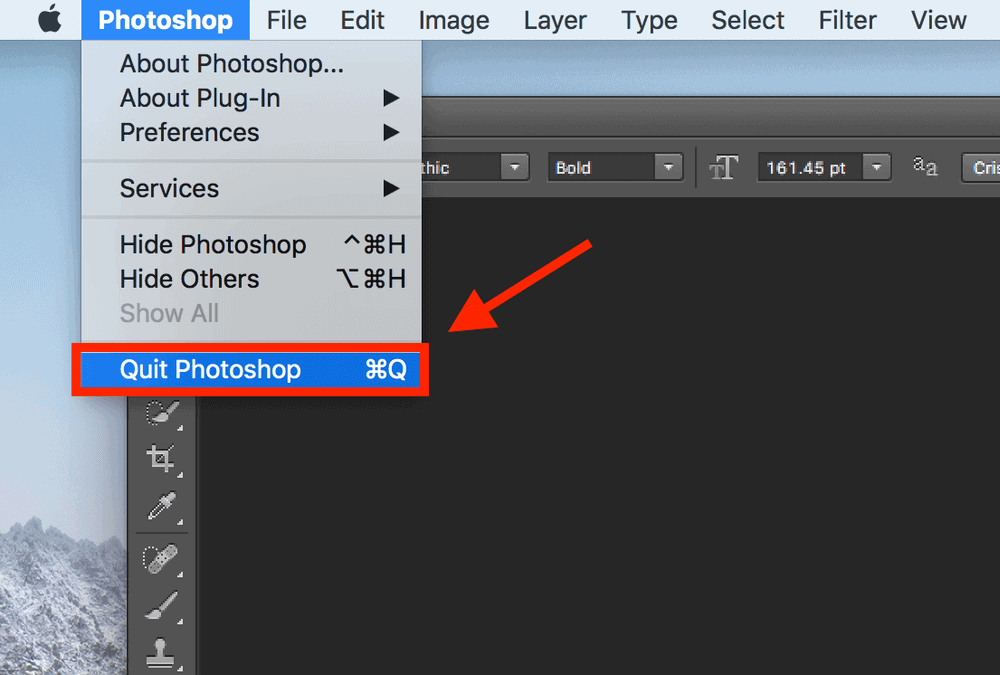
You may add font to Photoshop in Font Book by extracting the zip file and double-clicking the extracted font files. You should be able to locate your font in Photoshop once it has been installed. If you still can’t see it, restart Photoshop.
The benefit of using this approach to install fonts is that they’ll appear in any other word processor you use, including Microsoft Office. The most significant disadvantage of this method is that your fonts will only be installed locally on your computer. This means you’ll have to reinstall them on other devices if you wish to use them elsewhere.
How to Keep Your Fonts in Order
Adobe Creative Cloud or locally on your PC or Mac are both good options for managing fonts. This could be handy if you want to get rid of unneeded fonts or double-check if a font has been appropriately installed.
How to Deal with Them:
- The Adobe Creative Cloud is now open.
- In the top right corner, click the italic F button.
- Select Adobe Fonts from the drop-down menu.
- Toggle each font on or off by clicking its name.
These fonts will only work in Adobe programmes for which you have a current subscription.
How to Manage Fonts in Windows 10:
- Press the Windows key on your keyboard.
- fonts for type.
- Select Font Settings from the drop-down menu.
- This is where you’ll see all of the typefaces you’ve installed.
- Uninstall, modify default settings, or preview each font by clicking on it.
- If a font isn’t listed here, you probably didn’t install it correctly.
- To manage Mac fonts, go to Launchpad and look for Font Book.
- To open Font Book, go to the search results and click on it.
- In Font Book, all installed fonts can be seen, previewed, and removed.
- If you can’t see a newly installed font, it’s possible that you didn’t install it correctly.
OpenType SVG Fonts
Photoshop includes the Trajan Color Concept as well as the EmojiOne font, which both support OpenType SVG fonts. Multiple colours and gradients can be seen in a single glyph in OpenType SVG fonts. The Apple Color Emoji font is supported to a limited extent on the Mac OS platform, despite the fact that it is not an OpenType SVG font. OpenType SVG fonts, such as emoji fonts, are an example.
Emoji fonts allow you to integrate a wide range of colourful and graphical characters into your projects, including smileys, flags, street signs, animals, people, food, and locations. Certain composite glyphs can be created from one or more other glyphs in OpenType SVG emoji fonts, such as the EmojiOne font. You can, for example, construct country flags or change the skin colour of particular glyphs symbolising individuals.
Variable OpenType Fonts
Custom properties such as weight, width, slant, optical size, and others are supported by OpenType variable fonts. Several changeable typefaces are included with Photoshop, and you may adjust their weight, width, and slant using the Properties panel’s handy slider controls.
To find variable fonts, search for variable in the font list in the Character panel or the Options bar. Photoshop determines the font style that is closest to the existing settings when you move the slider controls. When you raise the slant of a regular font style, for example, Photoshop converts it to a form of italic.
Conclusion
We hope this advice has made it easier for you to add font to Photoshop or remove fonts from your computer. If you require any additional assistance, please leave a comment below.


